Assignment 3 - Manipulating Digital Images
Assignment 3 was broken into two chunks: an image exercise to get us warmed up and a set of instructions that uses text and images to support the learner. I've broken my responses to these two challenges into two sections, as you can see below. Thanks for taking the time to review my efforts - this was a fun assignment (although I feel like I should have picked something with fewer steps...).
Image Exercises
Personal Photo

|

|
Well, I tried this exercise out with a selfie because, well, why not? Some cropping and lighting adjustments improved the picture and I saved with a bit more compression to make it more web friendly. Not sure it's possible to turn a selfie taken in a car into something better than this though!
|
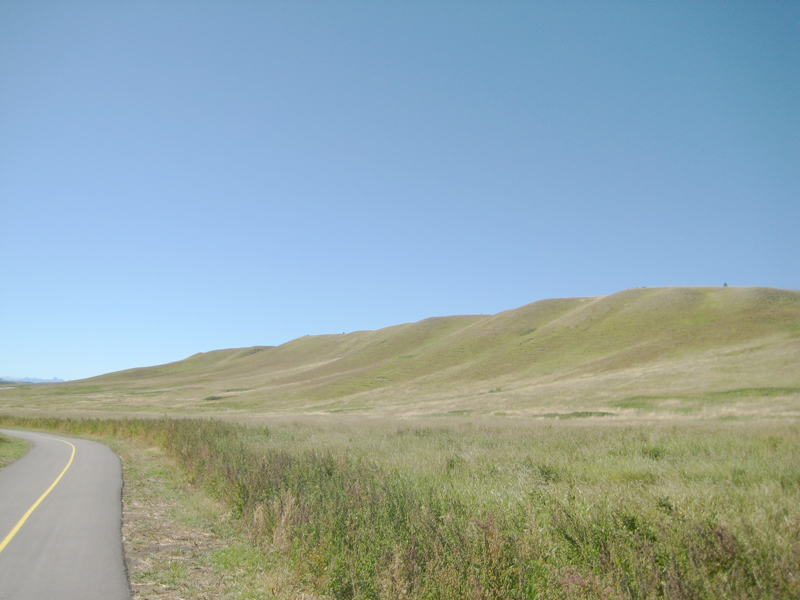
Background for Webpage
|
|
Took a shot taken from a nearby pathway. Reduced the size to 800 x 600 and compressed it a fair bit to make it load faster. Adjust contrast and levels to make the image fainter so it was more appropriate as a background.
|
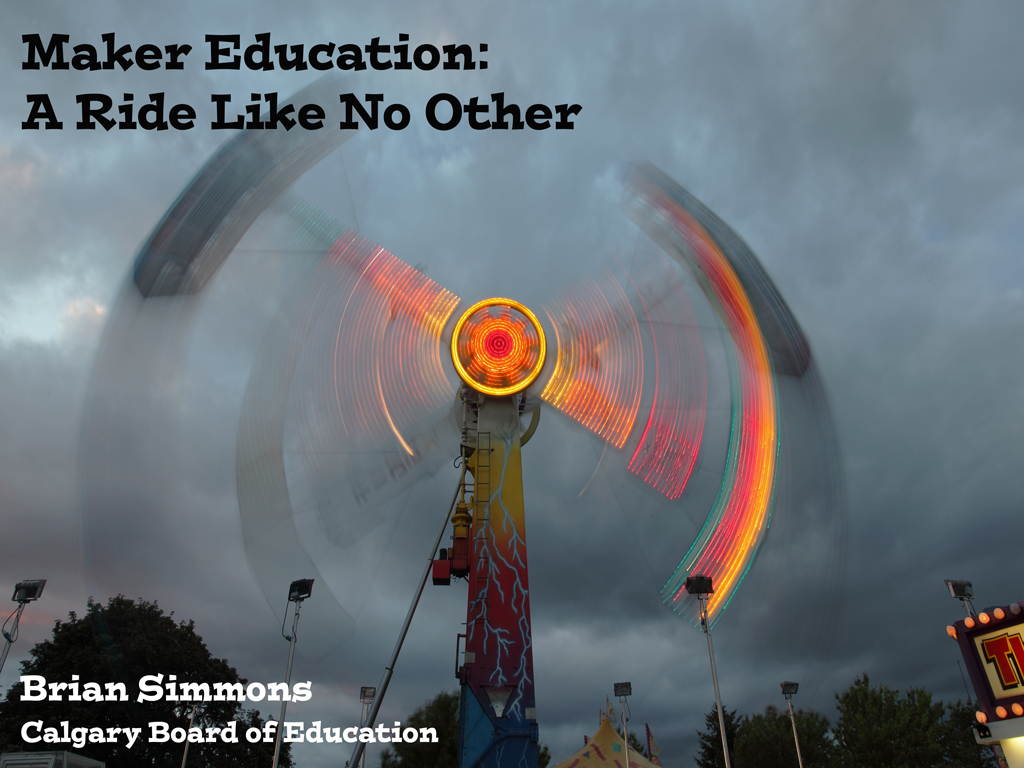
Power Point Title Slide
|
|
This image, posted by Ian Sane on flickr, was massive. I had to drastically change to size to fit PowerPoint dimensions. I also changed the lighting and contrast a bit to help the text 'pop' out a bit more.
|
Icon

|

|
For this one, I used that I plan on using in the bigger part of Assignment 3. Some heavy cropping, removing of colour, and drastic resizing created a serviceable little icon of a mouse.
|
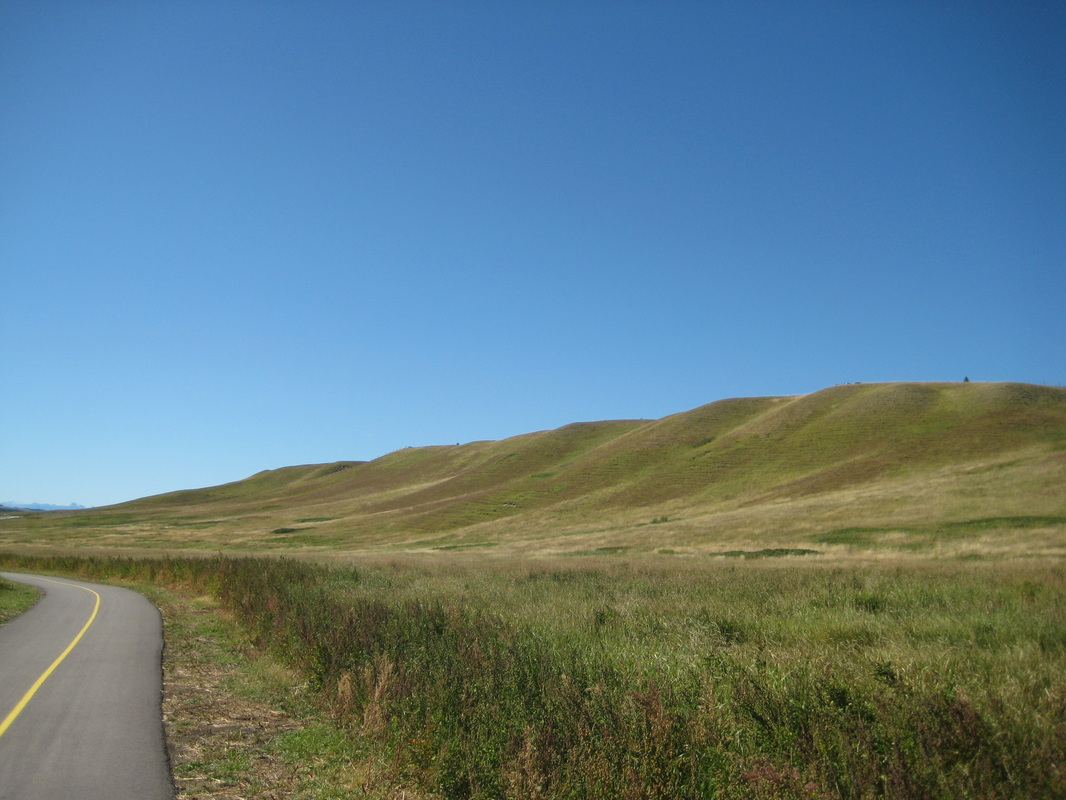
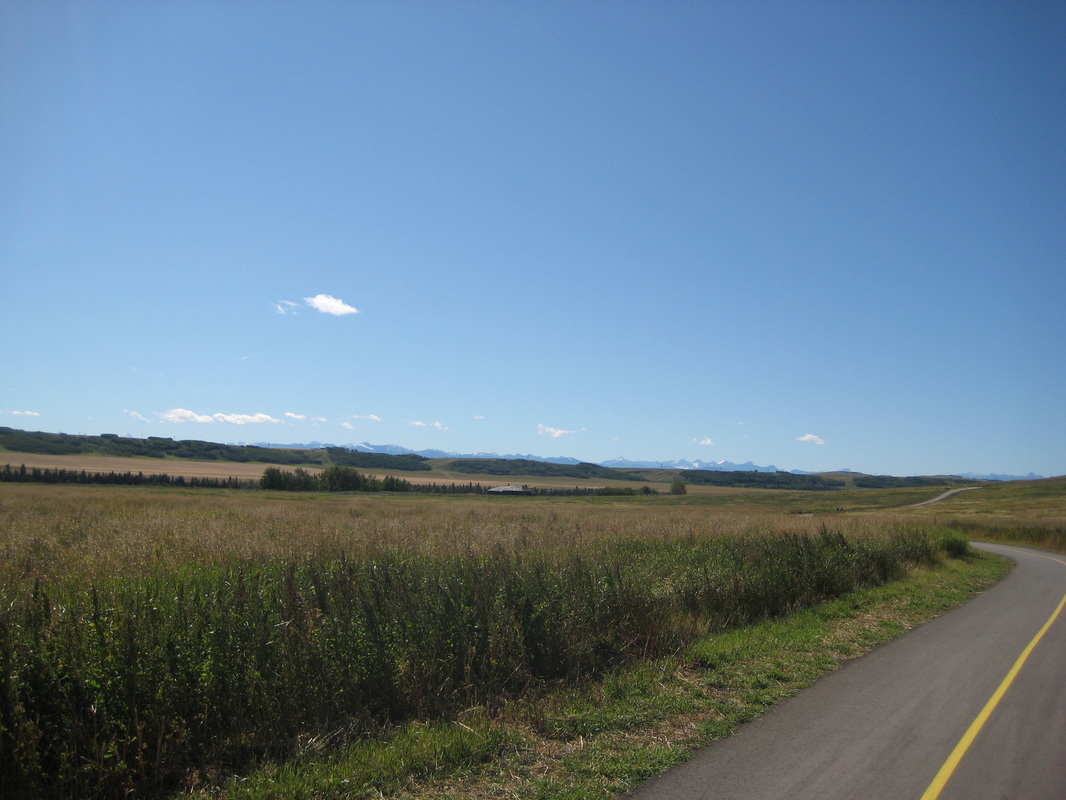
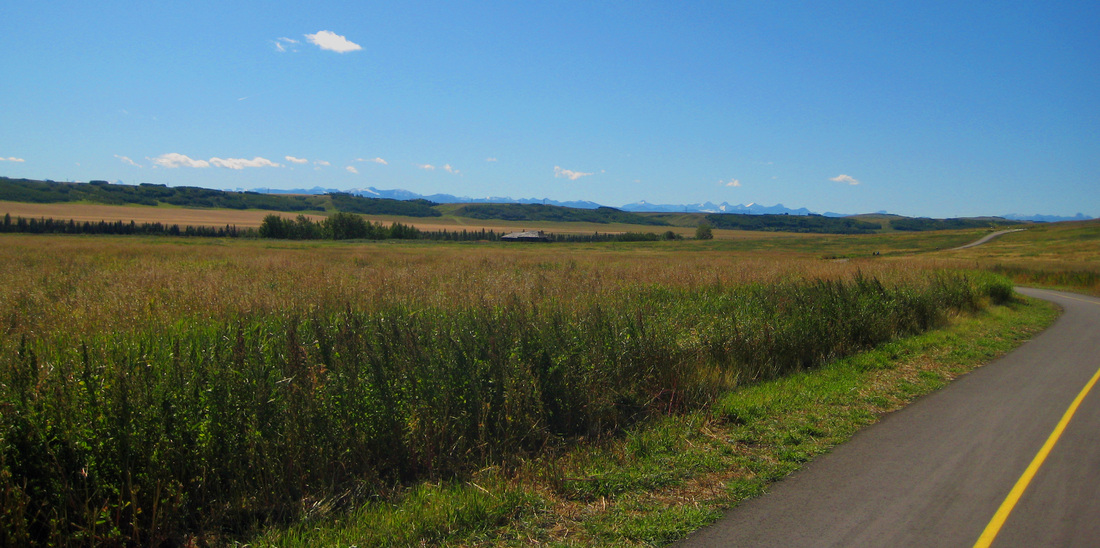
Choose Your Own
|
|
Another pathway picture. Cropped it to put the emphasis on the landscape and not the sky. Deepened and darkened the colours to make them a bit more dramatic. Finally, I straightened the photo a tiny tiny bit to make the horizon a bit more level.
|
Instructions - How to Launch a MinecraftEdu Server
For the main task of Assignment 3, I choose to create a set of instruction for launching, setting up and running a local server for MinecraftEdu. This is a piece of software that my school purchased last year and has seen frequent use by only a very small group of teachers. As one of the main users, I hope to create a set of instructions that will guide the first time user through the steps required to create a server for students to join and work within.
My instructions ended up requiring a large number of screen captures, which all required cropping and had simple icons added to them to guide the learner.
For the final creation and presentation of the instruction set, I chose to use Instructables, a website that allows users to document and share the processes required to create any object, food dish or piece of art. It is a great source of information for the budding DIY'er and it's a tool that I've wanted to try out for some time. This tool allows me to easily share my instruction via direct web link or through the sharing of a pdf document, although that feature is not as 'slick' as the website. The web version also includes mobile friendly presentation, which is important in my school full of iPads and other portable technology.
Below you will find the link to my instructions, as hosted on Instructables, which is the version I highly encourage you to view. You will also find the written explanation of the editing conducted on the images used for the instruction set and the PDF version of the Instructable.
Instructable Link: http://www.instructables.com/id/Starting-A-MinecraftEdu-Server/
Summary of Image Editing: http://goo.gl/UrX6AH
| starting-a-minecraftedu-server.pdf |
| etad_803_-_assignment_3_-_photo_manipulation_summary.pdf |
